If you like your hikes long, you will have to spend a lot of money on superfluous mapping just to cover your specific trail, and getting waterproof maps is sometimes impossible. But there is another way: if you can find a website that uses good quality maps you can simply take screenshots and print them on waterproof paper. This is a quick guide that shows you how to do it for Swedish maps.
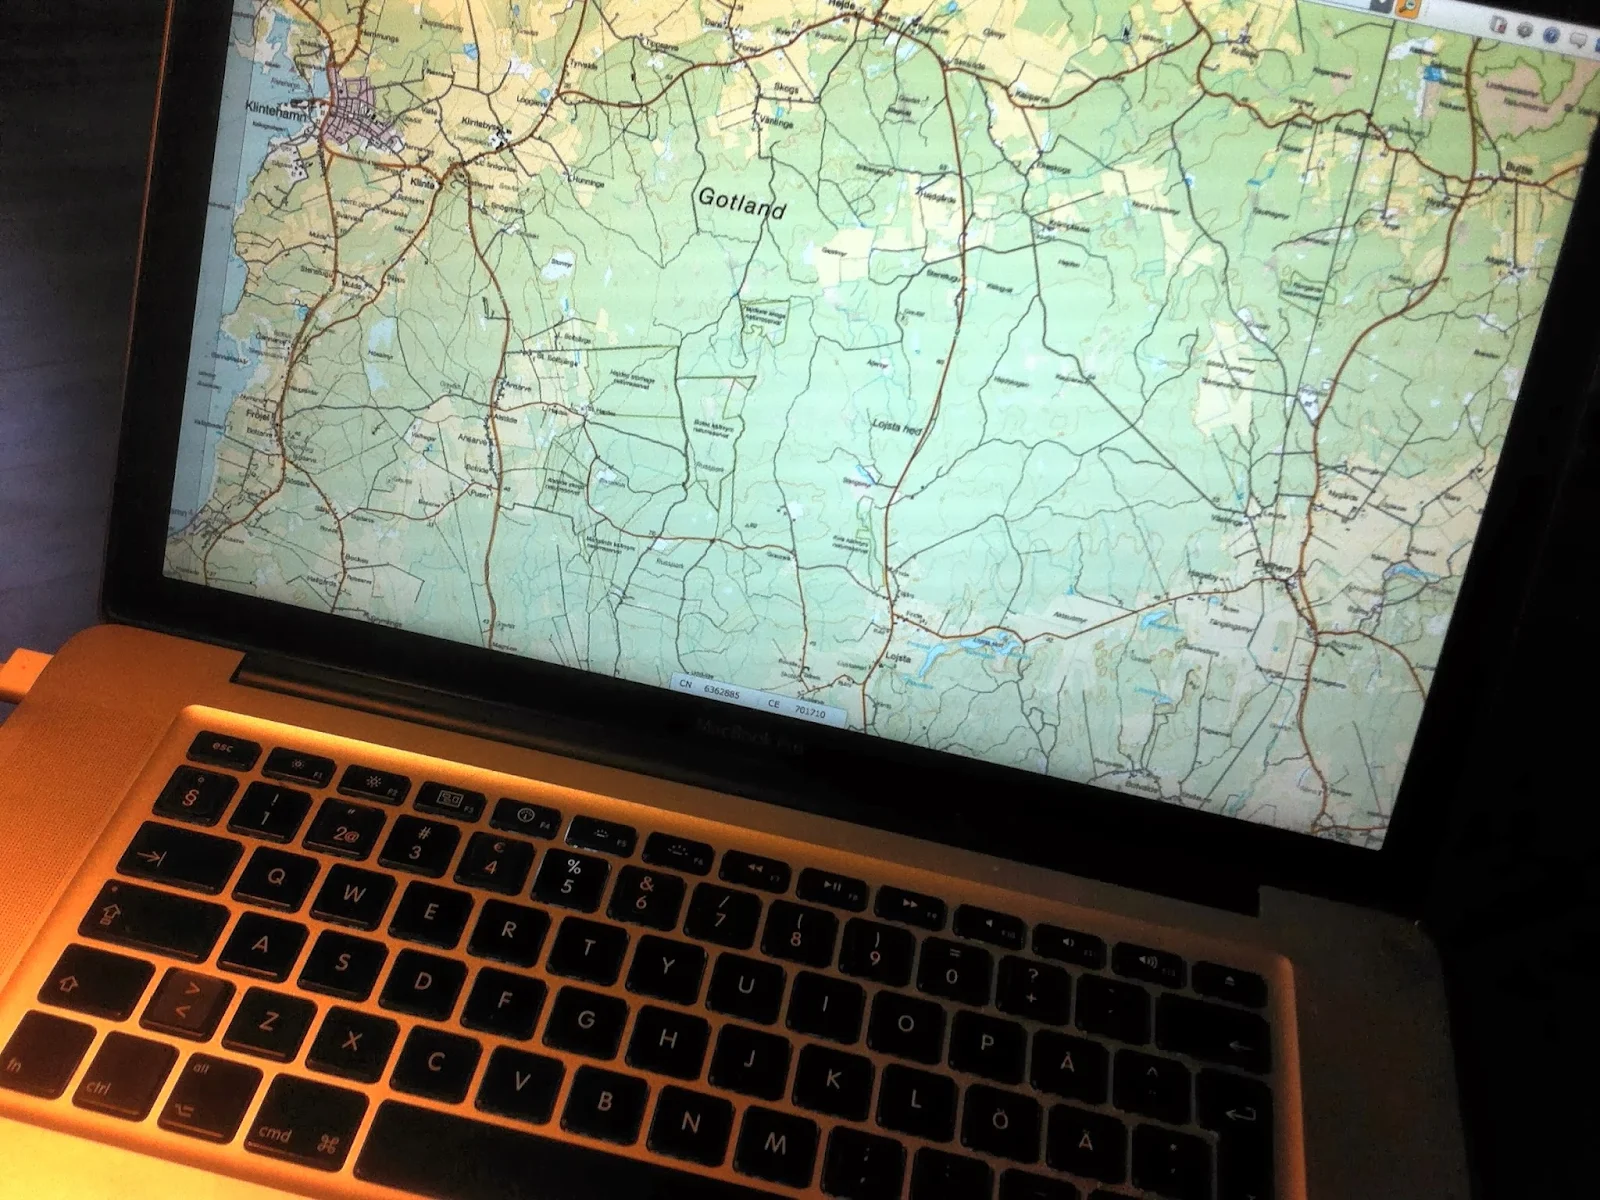 The Beta version of Lantmäteriet's map site is fantastic.
In Sweden we are blessed with the marvelous website of the Swedish National Survey (Lantmäteriet) where you can view all the Swedish maps on your screen. In comparison, the desolate grey imagery produced by Google and Apple is not worth to be called ”maps”. This is a quick guide that helps you make waterproof maps of all Sweden. Note that this is strictly for personaly use!
What you need:
Go to the Beta version of ”Kartsök och ortsnamn” and zoom and pan to your desired area.
Select "Topografisk" (adapted for web), "Terrängkartan" (standard 1:50 000) or ”Fjällkartan” (Mountain terrain) depending on what looks best.
EDIT: Export as PDF
Yes, it's that simple! On Lantmäteriet's site you can just click the PDF icon named "Reports" and select your output format. Then just save the PDF file, print it on waterproof paper (step 5, below) and you're done! Swedish tax payers FTW!
But if you are visiting a different map site, or want to have more control over your images, you can still go through the following steps.
2. Clean the screen
Set your web browser to full screen, so your screen isn't cluttered with tabs, address bars and such (you don't want that in your maps). How to do that depends on your browser and type of computer. Go through the browser's menus and you will probably find something like ”full screen” or ”presentation mode”. Also look for ”Hide [whatever]” in the menus.
3. Take screenshots.
Use the biggest computer monitor that you have access to, set on maximum screen resolution. The more pixels, the better maps you will get! Doing this on a small laptop is not recommended.
On Windows: press the dedicated ”Print Screen” key on the keyboard. This will put the image on the screen into your clipboard (the ”copy/paste memory”). Go to step 4 (paste into image software), and then do step 3 again with a new map area.
On Mac: press ⌘ + Shift + 3. This will directly save the image on your desktop. So you can just pan into another map area and do the same again. You will get a bunch of images on your desktop.
4. Copy the screenshot into an image document (Windows only, on a Mac this is already achieved by magic).
Open Paint. Paste your image into a new document. Save. (Don't use Word, because it usually messes up the image)
Of course you can use a real program like Photoshop instead, which will give you a lot more possibilities to crop and combine maps. But if you like to use Photoshop, you will probably already know how to do this...
5. Print the map on waterproof paper.
I use Xerox Nevertear. It's a polymer paper that you can use in a laser printer. It's indestructible on a ”I will give you my titanium spork if you can rip this map apart”-level. It comes in different qualities. I use 120 µm, which works fine, but is a bit on the stiff side. 95 µm is probably more flexible, and you will save some weight.
You can get 100 sheets for 30–40 € if you know where to look: www.inkplanet.se or www.inkonline.se.
Supplementary studies:
This guide is quick and dirty. If you have any questions or improvements, please comment and I will update!
By Martin Nordesjö

In Sweden we are blessed with the marvelous website of the Swedish National Survey (Lantmäteriet) where you can view all the Swedish maps on your screen. In comparison, the desolate grey imagery produced by Google and Apple is not worth to be called ”maps”. This is a quick guide that helps you make waterproof maps of all Sweden. Note that this is strictly for personaly use!
What you need:
- Computer with large monitor
- Colour laser printer
- Waterproof printer paper
Go to the Beta version of ”Kartsök och ortsnamn” and zoom and pan to your desired area.
Select "Topografisk" (adapted for web), "Terrängkartan" (standard 1:50 000) or ”Fjällkartan” (Mountain terrain) depending on what looks best.
EDIT: Export as PDF
Yes, it's that simple! On Lantmäteriet's site you can just click the PDF icon named "Reports" and select your output format. Then just save the PDF file, print it on waterproof paper (step 5, below) and you're done! Swedish tax payers FTW!
But if you are visiting a different map site, or want to have more control over your images, you can still go through the following steps.
2. Clean the screen
Set your web browser to full screen, so your screen isn't cluttered with tabs, address bars and such (you don't want that in your maps). How to do that depends on your browser and type of computer. Go through the browser's menus and you will probably find something like ”full screen” or ”presentation mode”. Also look for ”Hide [whatever]” in the menus.
3. Take screenshots.
Use the biggest computer monitor that you have access to, set on maximum screen resolution. The more pixels, the better maps you will get! Doing this on a small laptop is not recommended.
On Windows: press the dedicated ”Print Screen” key on the keyboard. This will put the image on the screen into your clipboard (the ”copy/paste memory”). Go to step 4 (paste into image software), and then do step 3 again with a new map area.
On Mac: press ⌘ + Shift + 3. This will directly save the image on your desktop. So you can just pan into another map area and do the same again. You will get a bunch of images on your desktop.
4. Copy the screenshot into an image document (Windows only, on a Mac this is already achieved by magic).
Open Paint. Paste your image into a new document. Save. (Don't use Word, because it usually messes up the image)
Of course you can use a real program like Photoshop instead, which will give you a lot more possibilities to crop and combine maps. But if you like to use Photoshop, you will probably already know how to do this...
5. Print the map on waterproof paper.
I use Xerox Nevertear. It's a polymer paper that you can use in a laser printer. It's indestructible on a ”I will give you my titanium spork if you can rip this map apart”-level. It comes in different qualities. I use 120 µm, which works fine, but is a bit on the stiff side. 95 µm is probably more flexible, and you will save some weight.
You can get 100 sheets for 30–40 € if you know where to look: www.inkplanet.se or www.inkonline.se.
Supplementary studies:
- If you use Chrome, you can install the Stylebot plug-in, which makes it possible to edit the CSS of the page and hide the map controls of the page.
- More powerful than ordinary screenshots is ”Snipping Tool” on Windows or ⌘ + Shift + 3 on a Mac (to capture a selected part of the screen).
- You can also use these maps directly on your smartphone or e-reader. You can even get GPS positioning in the maps if you use apps like Map Overlay Tracer (read our article).
This guide is quick and dirty. If you have any questions or improvements, please comment and I will update!
Thanks for sharing! I think mentioning Sweden in the title would've been good as I'm probably not the only one who has been desperately waiting for the Lantmäteriet to enter the new millenium with proper onlien map service. Thanks for the tip! Really helpful mapservice though it would be nice to get grid and other info also layered on the map...
ReplyDeleteWhy don't use the pdf you can generate?
ReplyDeletePTG, that's a really good question! The simple answer is that I didn't notice that function (I don't think it was there in the last version).
ReplyDeleteThat makes it much easier for the normal user, and almost makes my guide needless :)
Personally I still like to have a bit better control over my images and use Photoshop, but for the average user the PDF function (camouflaged under the name "Reports") is all you need!
Yep the pdf report works well, and can be edited. Thanks for the tip on the paper as well.
ReplyDelete